Well, let's get to it! Here are the steps that I use to make these. I'll try to provide photo's as I go along.

This next step is the most time consuming part. So be prepared to have the time to do this. Apply a good dose of glue to the short edge (see photo) and start layering the balsa strips. You can (and I recommend that you do) cut some at different lengths when layering them. It will give a more realistic look. When I do this, I use Alene's tacky glue. It sets much faster than regular PVA glue and holds just as well.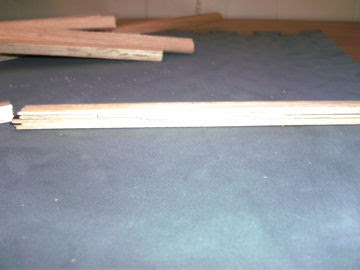
Once you have the rows glued and they are dry, take a ruler and draw a line on the 1,3,5, and 7 inch mark on the rows that you just glued down. Take a small piece of balsa and glue it on those marks on a vertical axis. (see photo below).
Clean up the edges now. I use a dremel with a sanding drum on it. I also try and bevel the balsa edges at a 45 degree angle.
Spray paint these a dark brown. Coat everything except the bottom. You won't be able to see it so why worry about it?!?! : )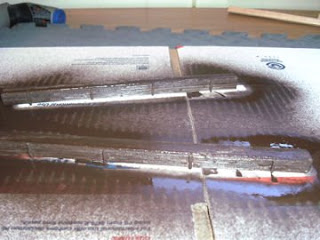
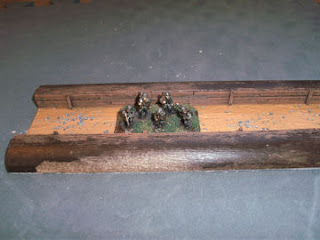
While this is drying, cut a piece of floor tile to a size of 8 inches by 3 inches. Why use floor tile? It's cheap, it's thin and well, it just works for anything I want to do. For this piece, I'm going to be using the sticky side of it. Put a thin layer of brown caulk down the center of it and drop some small pepples in the caulk as it dries. 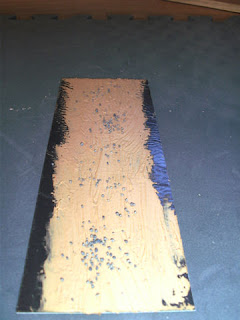 Once the brown paint is dry, drybrush the balsa wood a lighter brown. I use a cheap acrylic paint from Walmart. Nothing special, but something to add a touch of detail. Once that's done, I lay a small line of super glue along the long edges of the floor tile. I do this before the caulk has had a chance to totally set. I also take a medium base for FoW and make sure that everything fits before gluing it down.
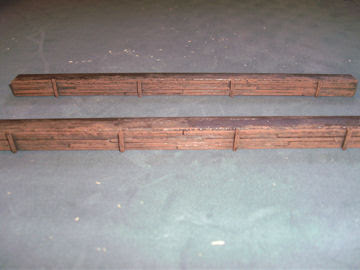
2 comments:
Ok, what is a 'Grassinator'
Trenches look good, what is the overall width?
The 'Grassinator' is something that Noch sells for around $200. Or you can make your own for about $50 from the plans found here...
http://www.ztrains.com/pages/tech/grassinator/grassinator.html
The overall width of these are 3 inches. That's what I cut the floor tile for. 8 inches by 3 inches.
Post a Comment